Fronius SnapINvertersProduct Guide
Installation
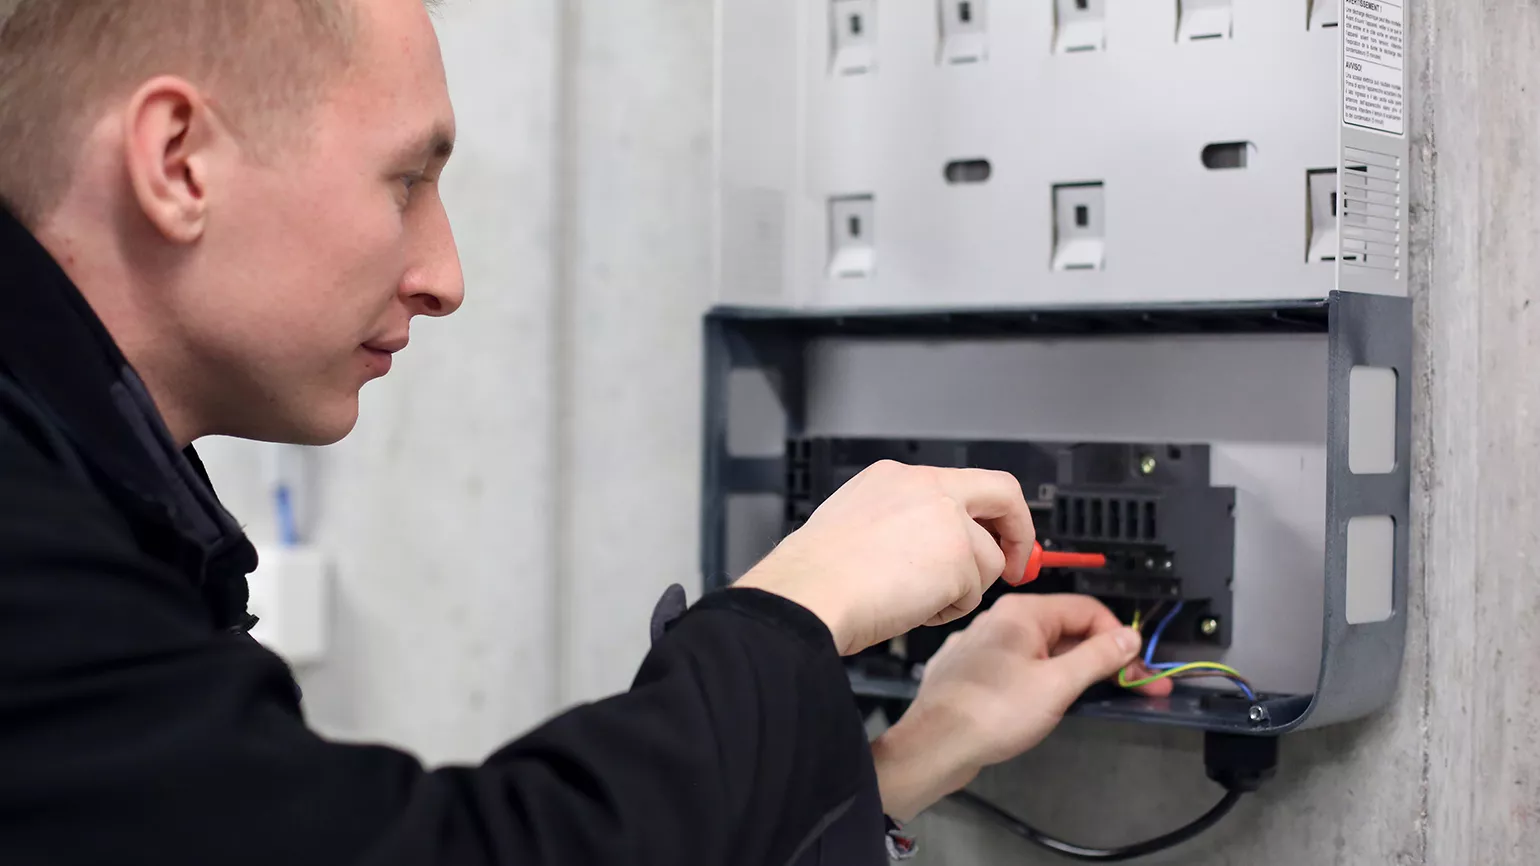
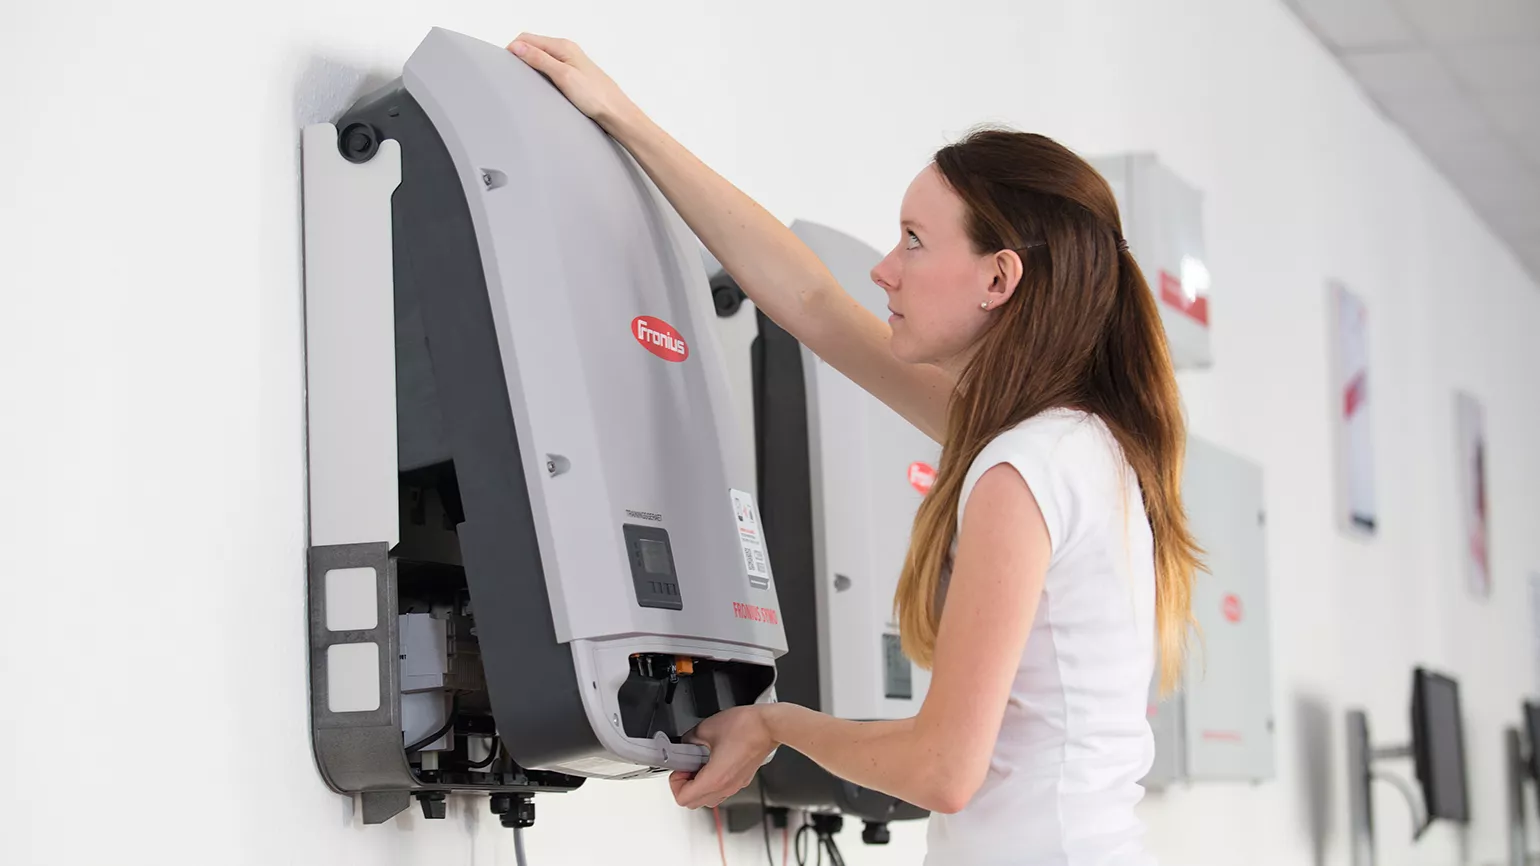
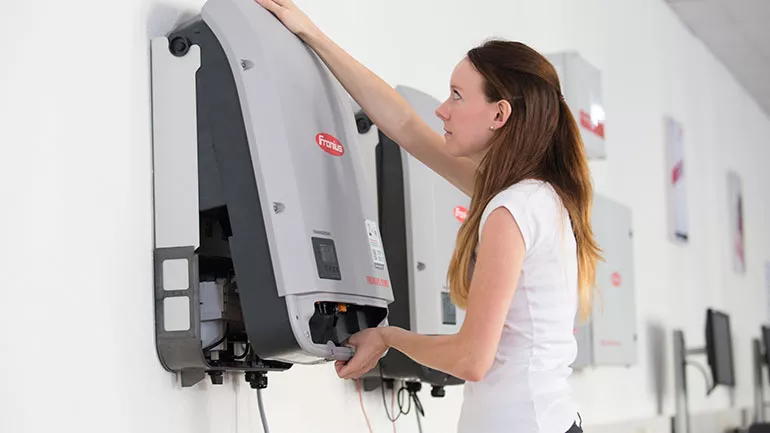
Installing a Fronius SnapINverter is remarkably easy. All DC and AC cabling is done in the integrated connection area of the wall bracket. The compact, lightweight inverter is simply hung into the wall bracket and snapped in. The entire installation process requires no special tools. Please note the maximum torque values marked on the side underneath the terminals.
Downloads
System Design
To support you in the comprehensive planning and design of PV systems when advising and finding solutions for your customers, we offer you the Fronius Solar.creator, a free, flexible, and user-friendly online configuration tool.
It can be individually adapted to your needs and offers support in all planning phases of your projects with its numerous functions.
Optional Accessories
Fronius SnapINverters can be conveniently ordered or retrofitted with various options such as DC surge protection, DC connector kit, or MC4 connectors.
For more information, click here.
Our optional DC surge protection is available as follows:
- Type 1+2: Symo 3.0 - 20.0 kW, Primo 3.0 - 8.2 kW, Symo Hybrid and Eco inverters.
- Type 2: Symo 10.0 - 20.0 kW and Eco inverters.
Downloads
The maximum usable input current specified in the datasheet (Idc max MPPT1 / MPPT2) may be exceeded without violating the manufacturer's warranty conditions.
It is important to note that the maximum short-circuit current of the module array Isc max must not exceed the value specified in the datasheet.
If Idc max is exceeded, it should also be noted that the inverter actively limits the current at the specified value. Accordingly, small yield losses are to be expected.
DC power optimisers adjust the voltage of shaded PV modules by increasing or decreasing it. This component requires energy to do so.
The more shade there is, the higher the optimiser's consumption and the lower its efficiency. This means that power optimisers are often unable to compensate for shading, especially partial shading, resulting in no higher yield.
The "Fronius Arc Guard" safety function is used to detect and interrupt DC arcs in PV systems. The function was developed to comply with the IEC 63027 standard. It addresses the technical requirements for "Arc Fault Protection Equipment" (AFPE) and "Arc Fault Circuit Interruption" (AFCI) in photovoltaic systems.
The function requires specific hardware and is therefore not included in all Fronius SnapINverters. Only Symo Advanced devices have the hardware integrated and offer the "Arc Guard" function to further increase the safety of PV systems.
System Monitoring & Control
Fronius SnapINverters have the Fronius Datamanager 2.0 integrated ex works, but are also available in a “light” version without Datamanager. The Datamanager can also be installed into a "Light"-Device retroactively.
You can connect up to 100 SnapINverters in one system into a Solar Net communication loop using a single Datamanager 2.0 to save time and costs. However we recommend smaller loops of up to 10 devices each, to reduce the risk of differences in the electric potential and to simplify troubleshooting. The exception is the Symo Hybrid, which has a Hybridmanager integrated instead and does not support inverter-to-inverter communication via Solar Net. The Data- or Hybridmanager connects the inverter to the Internet for system monitoring on Fronius Solar.web.
Downloads
The Data/Hybrid Manager offers 4 digital outputs for intelligent load management as well as interfaces for third-party compatibility. Fronius also offers sector coupling solutions for hot water preparation with the Fronius Ohmpilot as well as e-mobility solutions like the Fronius Wattpilot.
Downloads
1. SnapINverter with Datamanager 2.0:
With a SnapINverter with Datamanager 2.0, dynamic power reduction can be activated to limit the power fed into the grid by the system while maximizing direct self-consumption. This can also be used for zero-feed-in systems. To use this function, a Fronius Smart Meter is required for this purpose.
2. SnapINverter Light with external 3rd party S0 meter
Dynamic power reduction of 99%-0% can also be implemented with a SnapINverter Light without Datamanager 2.0. For this the multifunctional power interface of the SnapINverter Light is connected to the S0 counter. In this How-To Video the technical implementation of the function is explained. In the application guide in the download box you will find additional step-by-step instructions.
Downloads
Downloads
Service
Fronius SnapINverters can not only be installed quickly and easily but also maintained efficiently. In the event of a service case, individual components, such as circuit boards, or the entire device can be replaced.
To make the handling of the service case as efficient as possible, the convenient Fronius Solar.SOS service tool supports you. With the app or the browser version, you can initiate the service process online directly at the installation site. All you need is a serial number or a state code. This allows you to easily resolve technical issues and order spare parts yourself at any time without having to call the support hotline.
"Forgot password" function on the user interface of the inverter
The local user interface of the inverter is protected by a User password, an Admin password and a Service password.
With the function "Recovery Key" in Fronius Solar.SOS you can generate the recovery key to reset these passwords of your device.
The password can be reset as follows:
- On the user interface of the inverter, click on "Forgot password" to generate a PIN.
- On Fronius Solar.SOS, go to "Recovery Key" and fill out the mandatory fields to generate a recovery key.
- On the user interface of the inverter, enter the generated recovery key and set your new password.
Fronius Smart Meter
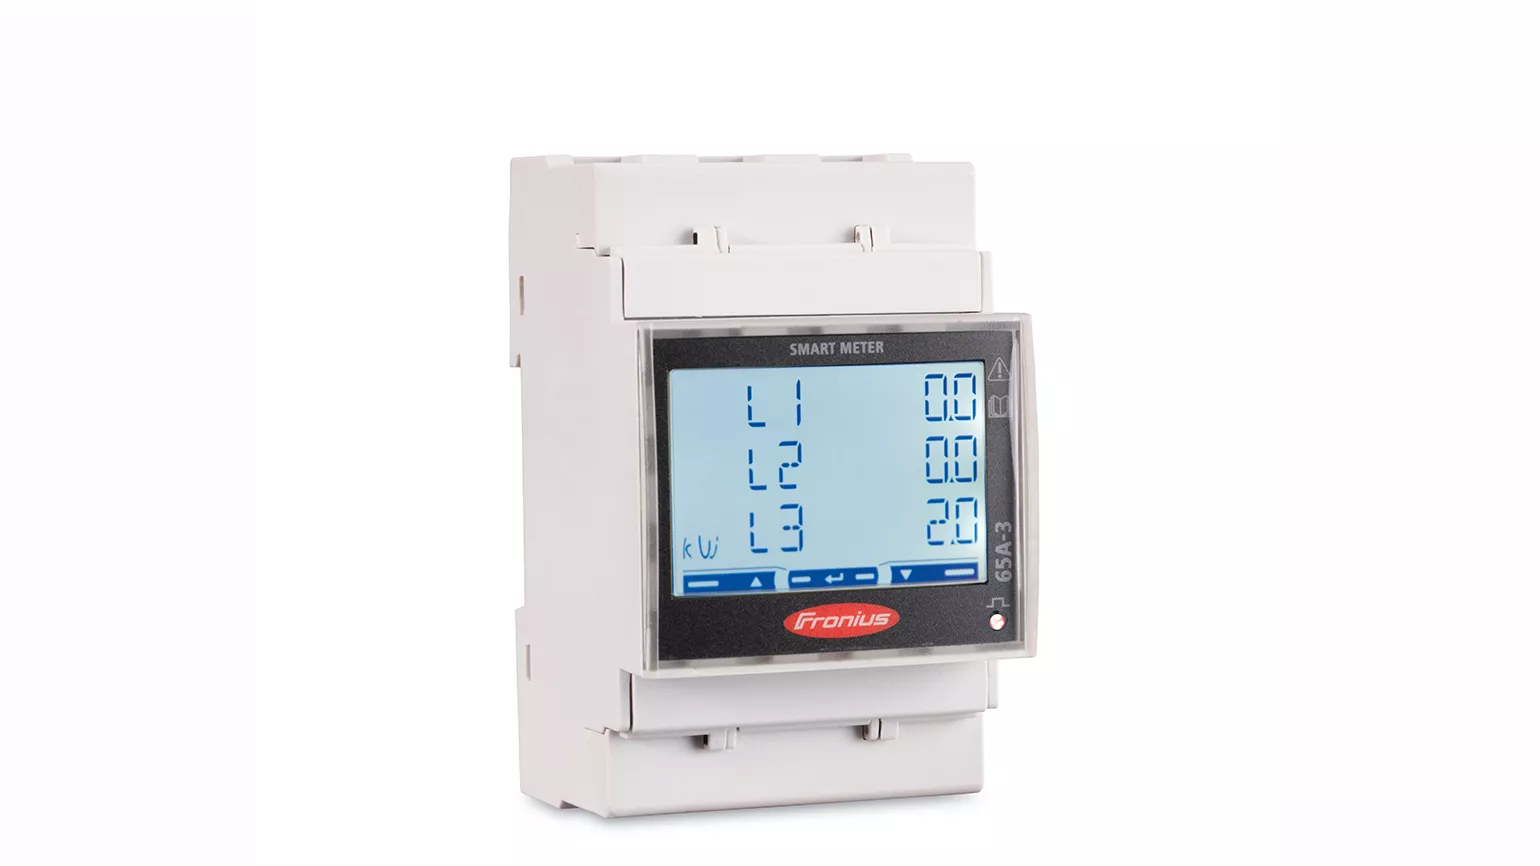
The Fronius Smart Meter is used to visualize the power flow in a system on Fronius Solar.web, including the direct consumption of the produced pv power as well as how much exceeding energy is available. This enables smart energy management solutions to improve self-consumption. We recommend installing the Fronius Smart Meter at the grid feed-in point, where it measures the ingoing and outgoing power of the whole system. The Fronius Smart Meter is required when installing Fronius Storage Solutions, the Fronius Ohmpilot or the Fronius Wattpilot. It is also required for setting up a dynamic power reduction, in case a feed-in limitation is required by the grid operator.
Downloads
Energy Profiling
With the Fronius Energy Profiling, it is possible to measure consumers and generators using more than one meter: additional secondary Fronius Smart Meters can be connected alongside the primary Fronius Smart Meter. This way the measured consumers and generators can be displayed on Fronius Solar.web.The number of additional meters that can be connected depends on how many devices are already connected to the Modbus interface. You can find a detailed explanation in the manuals linked to the right.
Please note: All Fronius Smart Meters, independent of version or age, can be combined in one system for the Energy Profiling.
Downloads
Product Registration & Warranty
Following a quick and free registration process at www.solarweb.com, owners of a Fronius product can select an attractive warranty model, depending on their region, that perfectly matches their individual requirements.
Please note: The product registration must be completed within 2 years of the system installation.
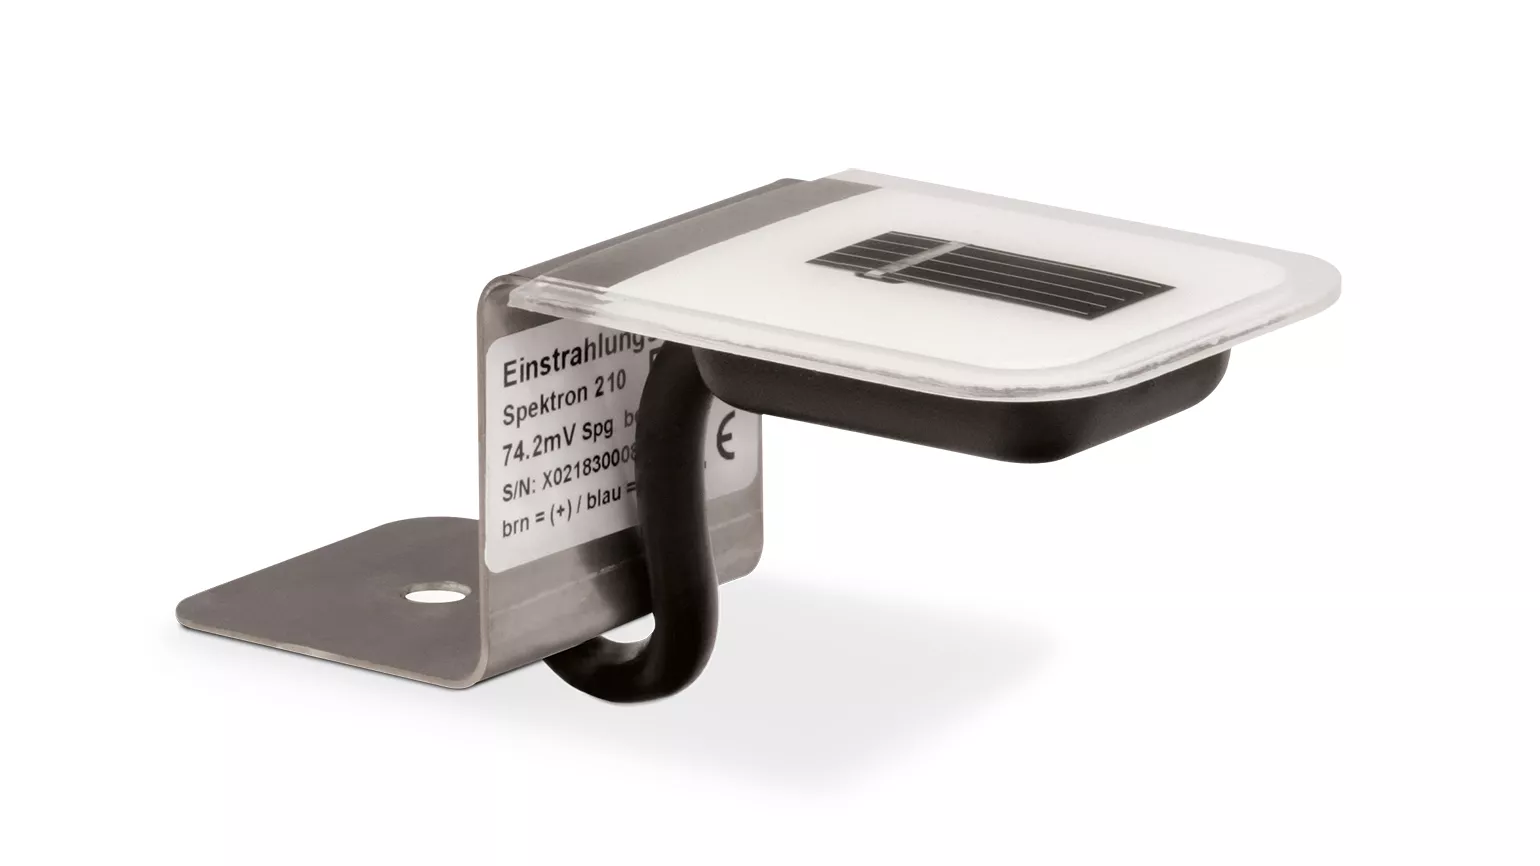
Fronius Sensors
