Fronius SnapINvertersProduct Guide
Installation
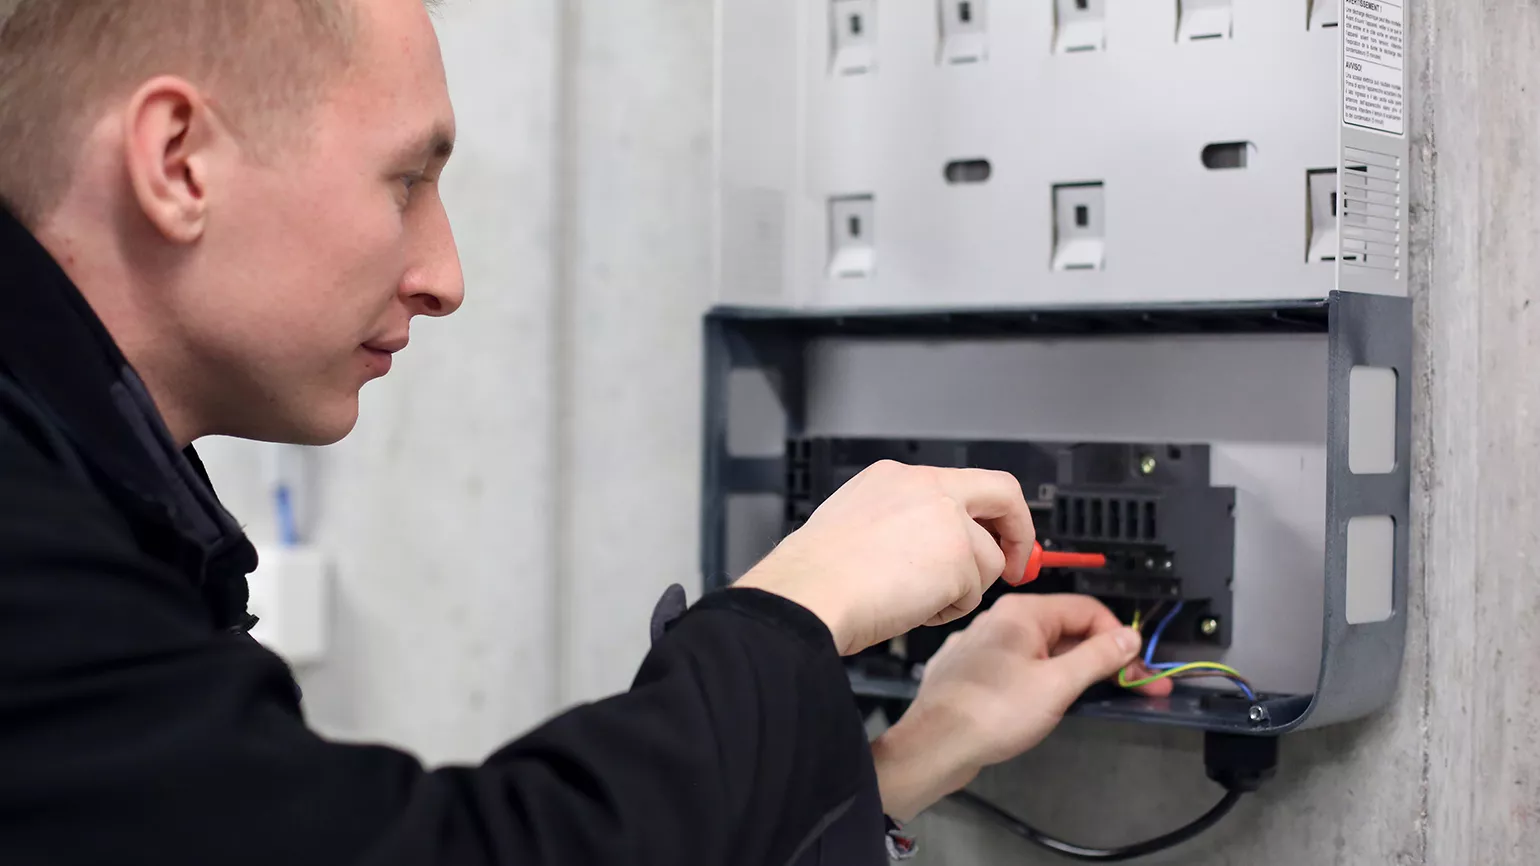
Installing a Fronius SnapINverter is remarkably easy. All DC and AC cabling is done in the integrated connection area of the wall bracket. The compact, lightweight inverter is simply hung into the wall bracket and snapped in. The entire installation process requires no special tools. Please note the maximum torque values marked on the side underneath the terminals.
Downloads
Fronius Smart Meter
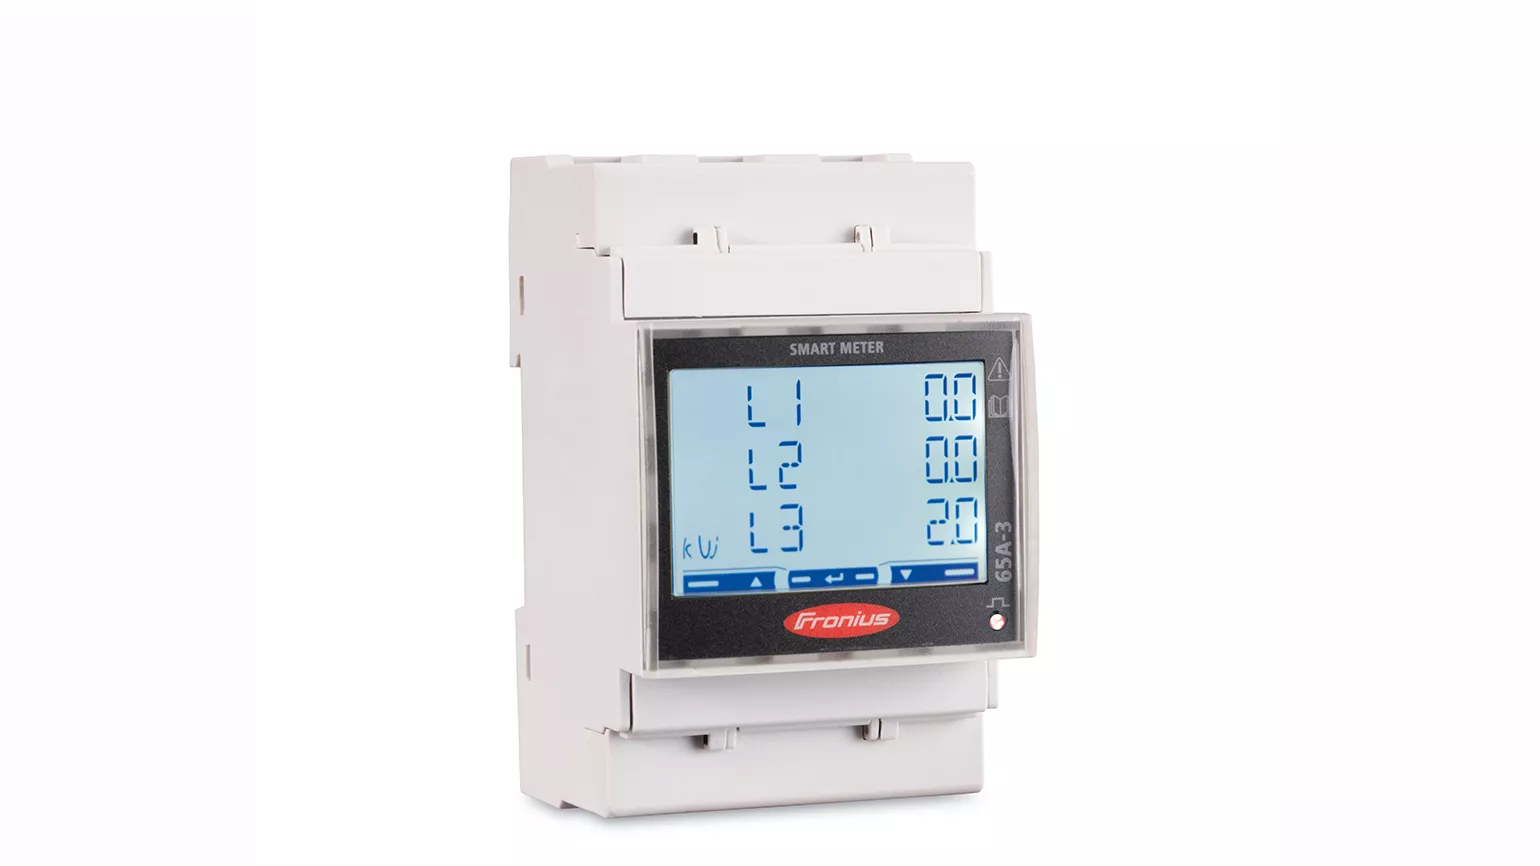
The Fronius Smart Meter is used to visualize the power flow in a system on Fronius Solar.web, including the direct consumption of the produced pv power as well as how much exceeding energy is available. This enables smart energy management solutions to improve self-consumption.We recommend installing the Fronius Smart Meter at the grid feed-in point, where it measures the ingoing and outgoing power of the whole system. The Smart Meter communicates with the Fronius Data/Hybridmanager in the inverter via Modbus RTU (RS485).The Fronius Smart Meter is required when installing Fronius Storage Solutions, the Fronius Ohmpilot or the Fronius Wattpilot. It is also required for setting up a dynamic power reduction, in case a feed-in limitation is required by the grid operator.
Please note: The Fronius Datamanager needs software version 3.16.6-1 or higher to be compatible with the Fronius Smart Meter TS.
Downloads
Downloads
Product Registration & Warranty
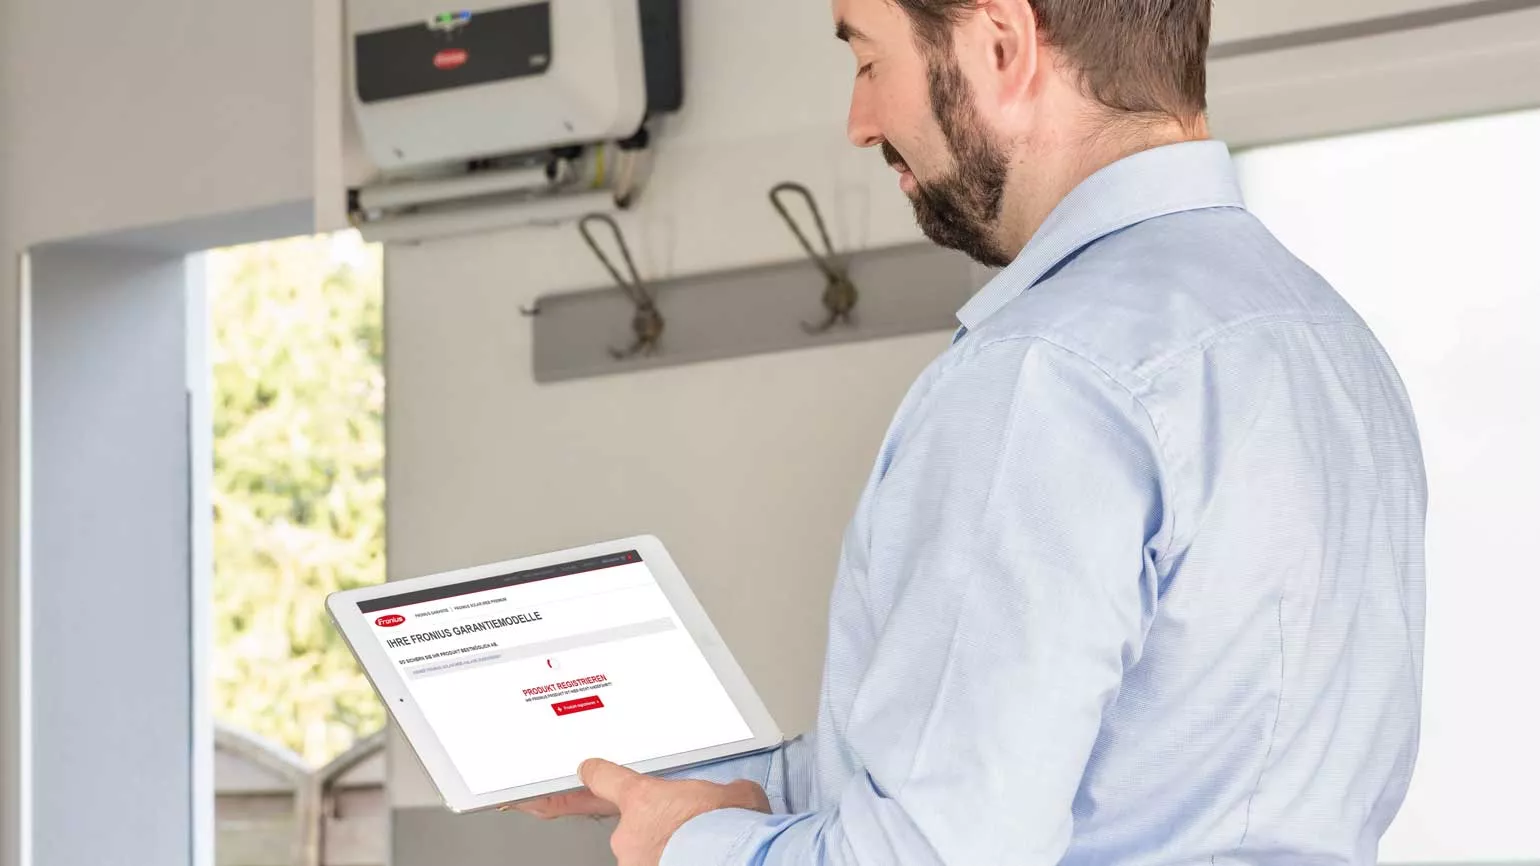
Following a quick and free registration process at www.solarweb.com, owners of a Fronius product can select an attractive warranty model, depending on their region, that perfectly matches their individual requirements.
Please note: The product registration must be completed within 2 years of the system installation.


